Mastering Clean and Simple Card Making with the Garden Mix Layering Die Set
by Agnieszka Malyszek September 16, 2026

Key Takeaways
Master Clean and Simple Design: Use ample white space and clean lines to make your floral focal point stand out without visual clutter.
Effortless Layering: The EZ Arrangement set features a lettered guide that eliminates the guesswork of building complex peonies, roses, and foliage.
Custom Ink Blending: Die-cutting white cardstock first lets you blend custom shades for a vibrant, tailored clean and simple palette.
Balanced Framing & Contrast: Frame your bouquet with a subtle die-cut border and a bold black sentiment to keep the overall look clean and simple.
Hello, everyone! Aga here, and today I’m sharing a classic clean and simple floral card featuring the EZ Arrangement: Garden Mix Layering Die Set.
In paper crafting, achieving a clean and simple (CAS) aesthetic is all about letting key focal elements shine through generous white space, crisp lines, and balanced design choices. If you love detailed floral designs but want a stress-free crafting process, this floral layering die set is an absolute game-changer for your handmade cards.
The set brings together a gorgeous combination of peonies, daisies, a focal rose, delicate ferns, and eucalyptus leaves. It allows you to build a stunning, multi-dimensional bouquet without the frustration of figuring out how all the tiny layers fit together. The included guided diagram shows you exactly where each piece belongs—simply match the shapes and follow the lettered steps. Plus, the set offers options for both larger and smaller arrangements, making it a highly versatile addition to your everyday card-making stash.

Step-by-Step Guide to a Clean and Simple Floral Bouquet
Creating a impactful clean and simple card starts with crisp preparation and careful color selection. By using ink blending techniques on white cardstock, you maintain complete control over your final palette.
Die-Cutting the Base Pieces: Start by die-cutting all the individual floral petals, stems, and foliage elements from smooth white cardstock.
-
Ink Blending for Depth: Using mini blending brushes, apply fresh dye inks to each layer to build smooth gradients and vivid shading:
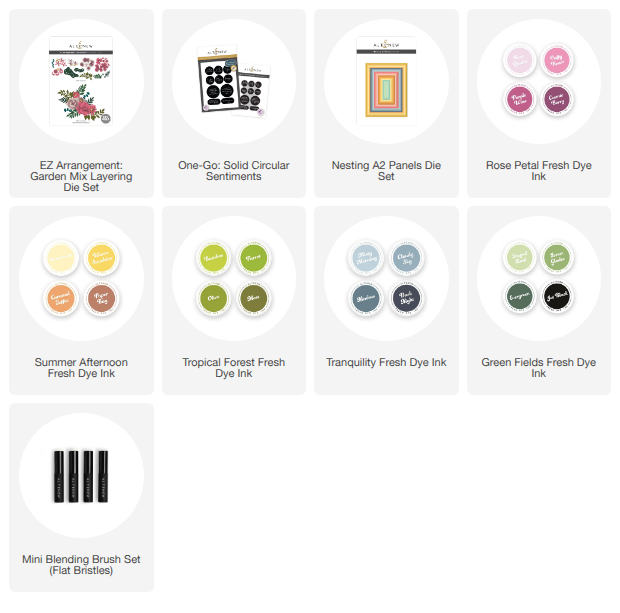
Peonies & Roses: Layered with Rose Quartz, Puffy Heart, and Purple Wine from the Rose Petal collection.
Daisies: Highlighted with soft Buttercream from the Summer Afternoon collection.
Foliage & Accent Leaves: Colored using Olive and Moss (Tropical Forest), Cloudy Sky (Tranquility), and Evergreen (Green Fields).
Layering the Blooms: Follow the step-by-step lettered instructions to assemble the individual flowers and greenery quickly and accurately.

Assembling the Card Base with CAS Design Balance
Once your dimensional blooms are assembled, the key to keeping your project strictly clean and simple lies in your background and sentiment choices. Overstyling the background can easily overwhelm delicate hand-colored elements.
Creating a Subtle Background Frame: To ground the bouquet without adding visual clutter, add a crisp white framed panel cut with the Nesting A2 Panels Die Set. Mounting a white frame over a white card base adds subtle texture and architectural interest while preserving essential open white space.
Adding High-Contrast Sentiments: Position your assembled floral arrangement onto the framed card panel. To complete the layout, add a bold black sentiment created with the One-Go: Solid Circular Sentiments Bundle. The deep black ink provides immediate focal contrast against the soft, ink-blended florals.

Elevate Your Handmade Floral Cards
Creating this clean and simple floral arrangement with the EZ Arrangement: Garden Mix Layering Die Set is both relaxing and incredibly rewarding. You will be amazed at how quickly an intricate, highly detailed design comes together when the layering process is streamlined.
Whether you are crafting birthday cards, thank-you notes, or everyday greetings, adopting a clean and simple approach ensures your focal artwork always takes center stage. I hope this project inspires you to break out your ink pads and die-cutting machine to create your own colorful bouquet cards!
Supply List