Gorgeous textured backgrounds, layered florals and sweet messages
by Erica Andersson September 18, 2026

Hello Altenew friends and fans, it's your texture and layers loving gal Erica back on the blog and YouTube channel today.
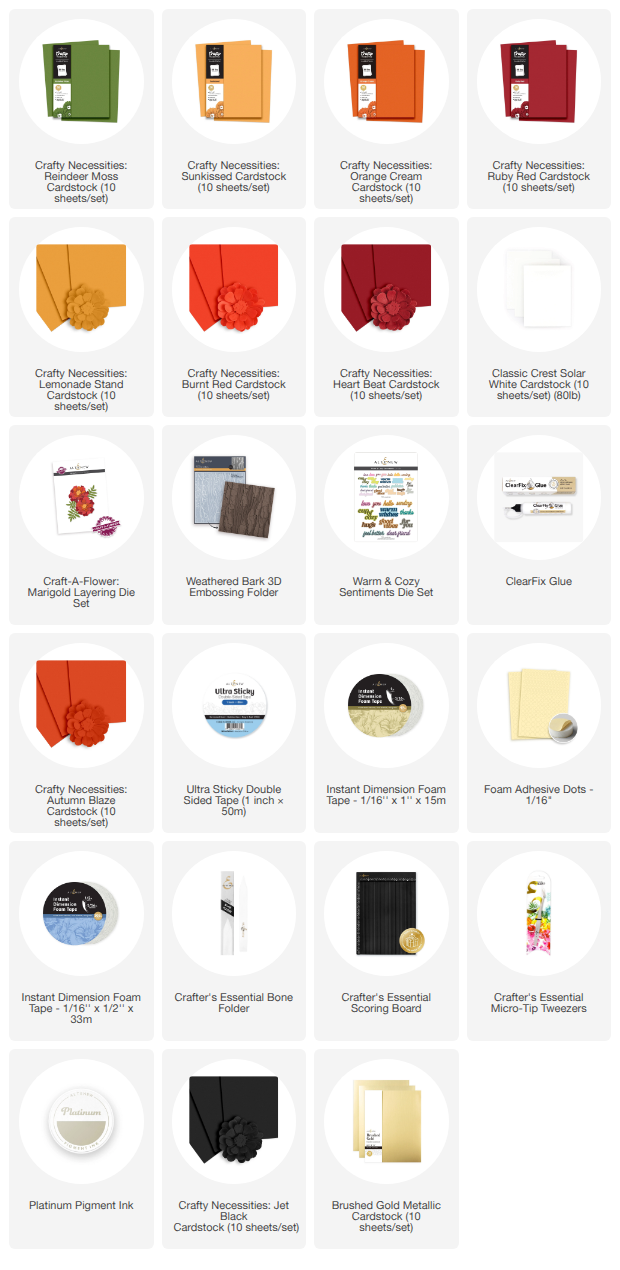
I'm going to share a couple of ideas using the lovely Weathered Bark 3D embossing folder, for some beautiful texture, as well as the Craft-A-Flower Marigold Layering Die Set. The cards have been finished off with some sweet sentiments from the Warm & Cozy Sentiment die set.
First up: Die cutting ALL the layers
To create the Marigold flowers, I have used lots of Crafty Necessities Colored Cardstock. A lot of them are the colours suggested, on the back of the packaging, to create the flowers shown on the front. I didn't have all the colours so I had to make some substitutions for some of the layers, but I think it worked out beautifully anyway.
Once all the layers were cut out, and separated into the order according to the Key Hole System, it was quick work to put them together. With the help of the Crafter's Essentials Micro-Tip Tweezers and the Clear-Fix Glue, it was a piece of cake layering the flowers up.

Next up: Embossing the background
I have used some gorgeous green coloured cardstock, this is Reindeer Moss, with the Weathered Bark 3D embossing folder. This is the same colour as the leaves are cut out of, from the Craft-A-Flower Marigold Layering die set. On top of the texture I have also rubbed some Platinum Pigment Ink for some extra interest.

Assembly made easy
If you have lots of layers, textures, sentiments, die cuts and the likes to add to your cards, it's really smart to prepare all the pieces first so that you have everything you could possibly need on hand for the fun part: assembly! This is where you can really let your imagination run free and see where your creativity leads you. It might not be the first idea you come up with that is the winner.
For these two cards, I have only made one background, but to use it for both of them, I simply cut it into half. Only, I cut it on an angle, so the pieces are a bit asymmetrical, rather than straight rectangles.

One was added to a white card base at the top, and the second was added to the bottom of a second card base. The marigold flowers have been draped over the cut itself, and the leaves tucked in around the flowers. One of the background pieces was adhered with the help of lots of Instant Dimension Foam Tape for extra height and layers, and the second was adhered with Ultra Sticky Double Sided Tape.
The flowers were all also added with both Instant Dimension Foam Tape, and Foam Dots, for height and layering.
Final touches
Sentiment wise I have gone for some sweet ones from the Warm & Cozy Sentiment die set. I love these kinds of die cut sentiments, with the shadow part and the word itself separate. That way you can pick and choose if you want to layer them up, or use just the words on their own. I went for layering, as well as a fun little trick to add extra height and stability to the sentiments. By putting some backing paper on the sticky side of the Instant Dimension Foam Tape (I used the black version for the sentiments) I was able to run this through my die cutting machine so I got a perfect piece of foam tape to layer up the word sentiment with! If you want to see how I did it, check out the YouTube video.
It was very tempting to add some bling to these cards, but I actually think they don't need it. Which is surprising, I know, but all of that delicious texture, the lovely layers and sweet sentiments kind of stood out on their own.

I hope you get a chance to check out the Youtube video as well, but with that, I am done for today. I really hope you enjoyed these lovely layers, and feel inspired to get crafting yourself.
With love and light, sparkle and creativity from Erica